HOMEBREWING WITH MR KEEGAN
All this begins with one question.
Is it possible, with modest expense & knowledge, to make drinkable beer in a two bedroom flat in St. Pauls?
Herein lyes the answer.....
I’d been interested in making beer for a little while and was curious to see if I could make some worth drinking. Needless to say I’d been interested in drinking beer, responsibly of course, for quite some time.
By way of preparation, I watched several youtube videos, both by commercial entities and enthusiastic amateurs, in order to get an idea of what equipment and ingredients were needed. I was encouraged by one that assured me that “as long as you can make macaroni cheese from a box, you can make beer”. This of course was from an American site. This gave me confidence as, and this really isn’t me bragging, I can make macaroni cheese from scratch.
Turns out, along with the raw ingredients, a large sauce pan / stock pot, a measuring jug, a thermometer, a funnel, a syphon, a fermentation vessel - in this case a 1 gallon glass Demi john, an airlock, and some sanitising chemicals would get the first stage done.
 All of these items I found at a reasonable prices in high street stores and “on the internet”. Bottles would also have to be acquired but would not be needed for another two weeks. Yeah,takes about that long. There’s another two week wait after bottling too!
The next question was what beer to make. Obviously there are a multitude of different styles and brands out there. And, as I discovered, an enormous amount recipes available via several websites, both foreign and domestic. I opted to purchase a “kit” this would include all the ingredients I required and instructions of the process’ that would need to be followed.
 I decided this was a good way to go as there would be no leftover bits that may go to waste. Also the beer recipe was designed to make a popular brand of IPA that I would be able to compare directly to the outcome of my endeavours.
Once all the equipment and ingredients had been acquired it was time to get to work.
From my research it was clear that there are four steps to making basic beer. Mash, Boil, primary fermentation and secondary fermentation or conditioning. There can also be dry hopping, this sits in between primary and secondary fermentation, but that will have to wait until I’ve got to grips with the first four.
Mashing: This is the process by which sugars was enzymes are extracted from the grains in order that the yeast can “eat’ the sugars later, with the help of some enzymes during the fermentation process to produce the alcohol.
 I’d opted for the slightly more difficult “All grain” approach, mimicking what actually happens in commercial breweries. In order to to mash the grains a porridge of sorts needs to made using water, heated to about 75°C, and the milled grains, in this case malted barley. This is mixed together thoroughly to ensure there are no dry clumps of grain left.
 This mixture then needs to be kept somewhere between 63-68°C and stirred every ten minutes for about an hour. This requires attention and a thermometer. It is important to stay within these temperatures. Too cold and there’s not enough sugar extracted and converted, too hot and the enzymes required to help with fermentation are denatured / rendered useless.
Once the hour is up the liquid needs to be separated from the now spent grain. This I achieved with a large sieve. Water at 77°C is then poured over the spent grains, filtering into the wort, as it is now termed, to make sure as much of the sugar as possible has been collected.
 This process could’ve been made easier had I chosen to use malt extract. I’d gone for all grain simply because I wanted the the satisfaction of having really done it from scratch.The sugar rich rich liquid, the wort, is now ready to boil.
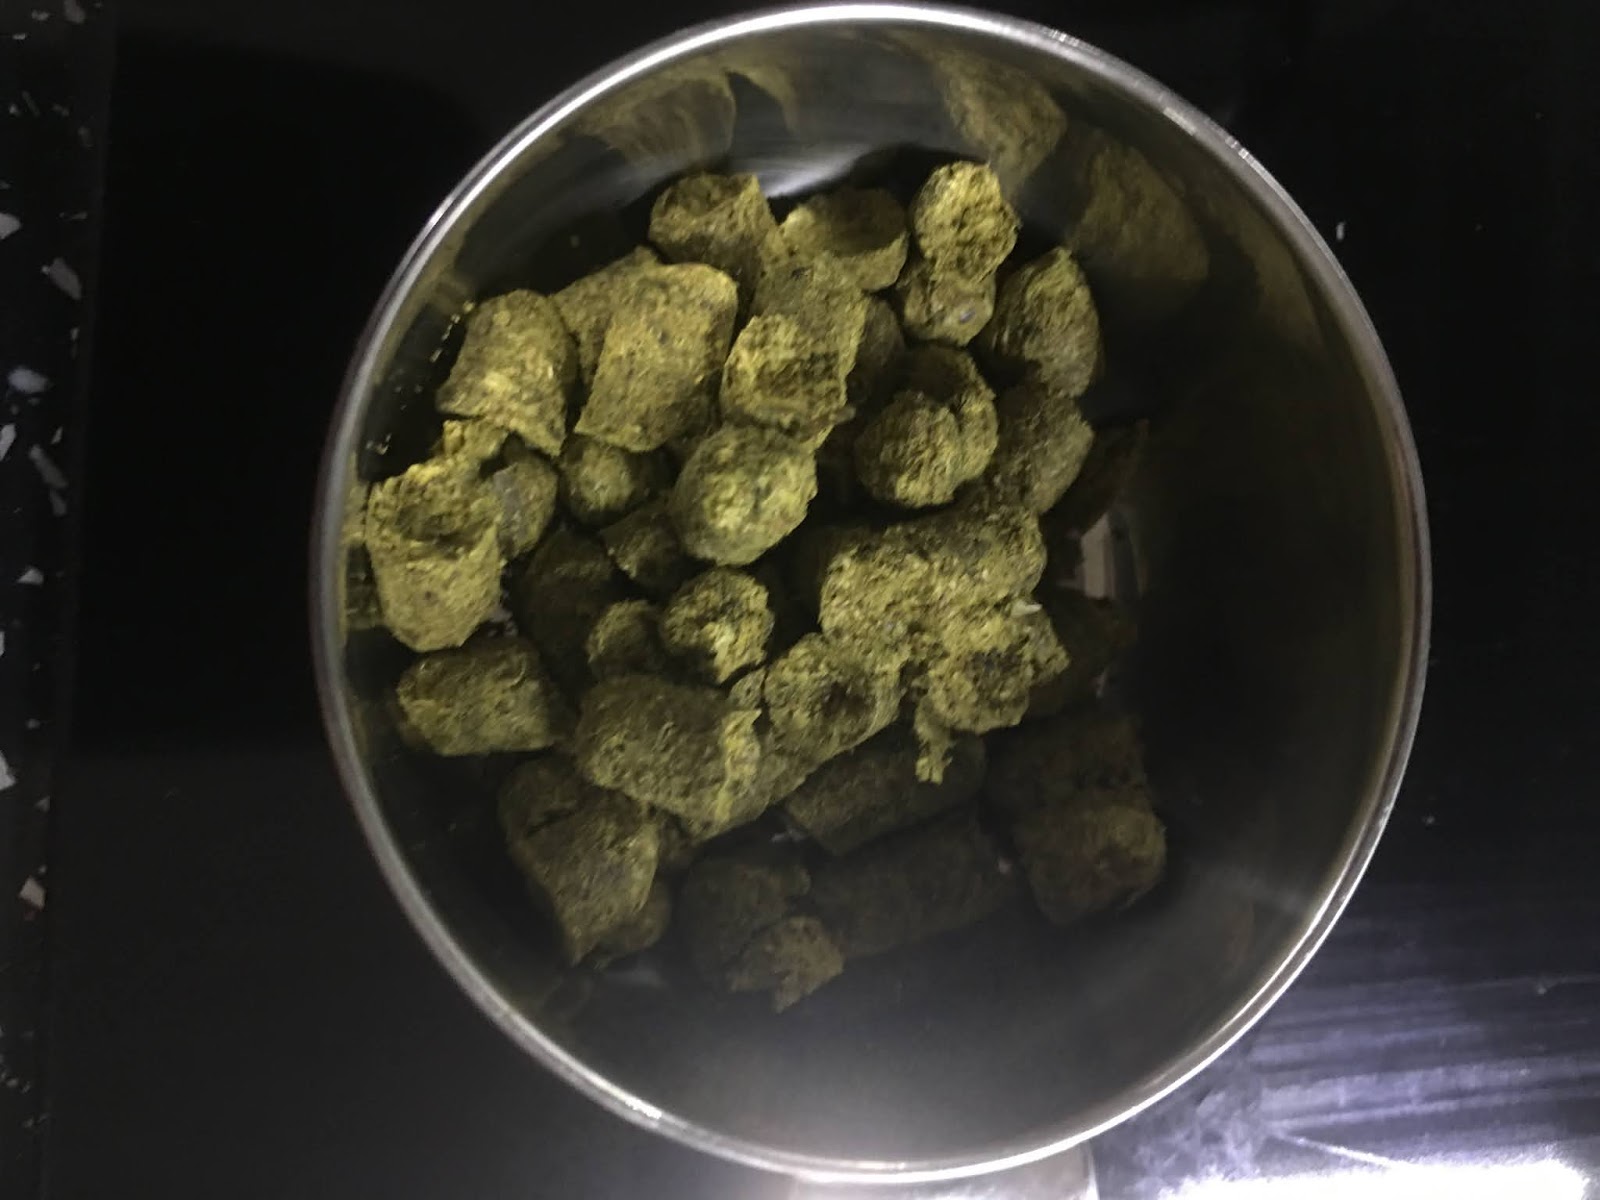
Boiling: Guess what happens now, yep the liquid is boiled for approximately an hour. From the original 2400ml mash water plus the 42500ml of sparge water, there should be approximately 47500ml to boil. Part of the boiling process is to add hops, these add flavour and aroma to the beer.
 Hops are members of the hemp family, and although banned by Henry VIII they are now a legal requirement of the UK and various other countries. They are generally added at the start of the boil, the middle and the end. “bittering” hops are usually added at the start of the boil whereas “flavour / aroma” hops are added in the middle or the end.
Once the boil is complete it is time to get the liquid down to approximately 20°C. The quicker this can be achieved the better. I went for a sink full to the brim of large blocks of ice & water. Other more sophisticated cooling coils are available.
 As with the mash temperatures, it is important to hit the correct temperatures.... too warm and the yeast will be denatured and not be able work, too cold and they’ll go to sleep and do not have pleasant enough conditions in which to work. It is also very important that every and anything the wort touches from here on in has been fully sterilised. Various specialised sanitising chemicals are available. Any contamination through unwanted bacteria can result in failed fermentation or development of flavour compounds that could ruin the taste of the beer.
Once the liquid was down to the correct temperature it was transferred to the aforementioned 1 gallon glass Demi john, and the yeast is added.
 The Demi John is then shaken vigorously but carefully! Immediately after a rubber bung with a length of tubing running into an old jam jar full of sterilising fluid, all completely sanitised, is placed in the top.
 This is to allow carbon dioxide, produced from the yeast multiplying at a potentially very rapid rate during the first 24 / 48 hours of the 2 week fermentation process, to escape but not allow anything from the outside world in. This was replaced after 48 hours with a sterilised standard airlock. They both perform the same function. The tubing, however will allow more to escape quickly, should that be a requirement!
To minimise any disasters I put the Demi John, wrapped in an old but clean shirt, and jar in the bath. I figured if things got ugly in a hurry the bath would be the easiest environment to clean. Also the room had no windows and very little temperature fluctuation. The ideal temperature is somewhere between is 14°C & 20°C. The only thing to do now was to sit back, cross my fingers, hope I hadn’t made any catastrophic mistakes, and wait for the magic to happen.
 Initially the yeast multiply and use up all the oxygen easily available to them. Once the multiplication phase is complete, the yeast begin to break down the sugars present in order to access the oxygen in them. The useful byproduct of this process is ethyl alcohol aka ethanol, the alcohol we can drink, responsibly and in moderation of course, that doesn’t do us too much damage.
I’ll not lie, I checked on it every day. Making sure I didn’t disturb or upset it. Fortunately things went according to plan. The beer, as it now is, needs to be put into bottles and carbonated. I’d opted for 500ml swing top brown glass bottles. These could be reused and would not allow sunlight in.
A small amount of sugar, in the form of carbonation drops - they look like colourless boiled sweets, is added to each bottle and filled with the beer. Over the next two weeks the residual dormant yeasts will “eat” the sugar and produce carbon dioxide. As this CO2 is unable to escape it is absorbed into the liquid ie. the beer becomes carbonated...... after a fortnight of hoping the bottles weren’t going to explode, this would be due to the overproduction of CO2 causing a structural failure of the bottle, the wait was almost over. Chilling in the fridge for 24 hours before finally being drinkable!
 So, in short, the answer to the original question turned out to yes. Palatable beer can be made in a flat in St. Pauls and so on and so forth.
It’s not a particularly easy or cheap way of producing loads of beer. Fact is I only make eight 500ml bottles and shelled out approximately a hundred quid. This may sound ridiculously expensive for eight bottles of beer, but all the equipment and bottles can be reused meaning any further expense would be on ingredients and sanitising chemicals. Bringing the cost per bottle down dramatically.
I found it a fun and interesting endeavour and have since made more and attempted different styles of beer and techniques. I've also found that the results have improved gradually with practice. I fully intend to carry on “practising” and hope one day to have come close to mastering the art and the science.
Who knows, one day, maybe I’ll even have a shed at the bottom of a garden to practice in with a greenhouse in which hops could be grown.................somewhere by the sea would be nice.
Is it possible, with modest expense & knowledge, to make drinkable beer in a two bedroom flat in St. Pauls?
Herein lyes the answer.....
I’d been interested in making beer for a little while and was curious to see if I could make some worth drinking. Needless to say I’d been interested in drinking beer, responsibly of course, for quite some time.
By way of preparation, I watched several youtube videos, both by commercial entities and enthusiastic amateurs, in order to get an idea of what equipment and ingredients were needed. I was encouraged by one that assured me that “as long as you can make macaroni cheese from a box, you can make beer”. This of course was from an American site. This gave me confidence as, and this really isn’t me bragging, I can make macaroni cheese from scratch.
Turns out, along with the raw ingredients, a large sauce pan / stock pot, a measuring jug, a thermometer, a funnel, a syphon, a fermentation vessel - in this case a 1 gallon glass Demi john, an airlock, and some sanitising chemicals would get the first stage done.

The next question was what beer to make. Obviously there are a multitude of different styles and brands out there. And, as I discovered, an enormous amount recipes available via several websites, both foreign and domestic. I opted to purchase a “kit” this would include all the ingredients I required and instructions of the process’ that would need to be followed.

Once all the equipment and ingredients had been acquired it was time to get to work.
From my research it was clear that there are four steps to making basic beer. Mash, Boil, primary fermentation and secondary fermentation or conditioning. There can also be dry hopping, this sits in between primary and secondary fermentation, but that will have to wait until I’ve got to grips with the first four.
Mashing: This is the process by which sugars was enzymes are extracted from the grains in order that the yeast can “eat’ the sugars later, with the help of some enzymes during the fermentation process to produce the alcohol.


Once the hour is up the liquid needs to be separated from the now spent grain. This I achieved with a large sieve. Water at 77°C is then poured over the spent grains, filtering into the wort, as it is now termed, to make sure as much of the sugar as possible has been collected.

Boiling: Guess what happens now, yep the liquid is boiled for approximately an hour. From the original 2400ml mash water plus the 42500ml of sparge water, there should be approximately 47500ml to boil. Part of the boiling process is to add hops, these add flavour and aroma to the beer.
Once the boil is complete it is time to get the liquid down to approximately 20°C. The quicker this can be achieved the better. I went for a sink full to the brim of large blocks of ice & water. Other more sophisticated cooling coils are available.

Once the liquid was down to the correct temperature it was transferred to the aforementioned 1 gallon glass Demi john, and the yeast is added.


To minimise any disasters I put the Demi John, wrapped in an old but clean shirt, and jar in the bath. I figured if things got ugly in a hurry the bath would be the easiest environment to clean. Also the room had no windows and very little temperature fluctuation. The ideal temperature is somewhere between is 14°C & 20°C. The only thing to do now was to sit back, cross my fingers, hope I hadn’t made any catastrophic mistakes, and wait for the magic to happen.
I’ll not lie, I checked on it every day. Making sure I didn’t disturb or upset it. Fortunately things went according to plan. The beer, as it now is, needs to be put into bottles and carbonated. I’d opted for 500ml swing top brown glass bottles. These could be reused and would not allow sunlight in.
A small amount of sugar, in the form of carbonation drops - they look like colourless boiled sweets, is added to each bottle and filled with the beer. Over the next two weeks the residual dormant yeasts will “eat” the sugar and produce carbon dioxide. As this CO2 is unable to escape it is absorbed into the liquid ie. the beer becomes carbonated...... after a fortnight of hoping the bottles weren’t going to explode, this would be due to the overproduction of CO2 causing a structural failure of the bottle, the wait was almost over. Chilling in the fridge for 24 hours before finally being drinkable!

It’s not a particularly easy or cheap way of producing loads of beer. Fact is I only make eight 500ml bottles and shelled out approximately a hundred quid. This may sound ridiculously expensive for eight bottles of beer, but all the equipment and bottles can be reused meaning any further expense would be on ingredients and sanitising chemicals. Bringing the cost per bottle down dramatically.
I found it a fun and interesting endeavour and have since made more and attempted different styles of beer and techniques. I've also found that the results have improved gradually with practice. I fully intend to carry on “practising” and hope one day to have come close to mastering the art and the science.
Who knows, one day, maybe I’ll even have a shed at the bottom of a garden to practice in with a greenhouse in which hops could be grown.................somewhere by the sea would be nice.

Comments
Post a Comment